

The Santa Cruz Trek Without a Guide
Important Information
About the Trek
The Santa Cruz Trek is one of the most popular multi-day treks in Peru, located in Huascarán National Park near Huaraz.
- Distance: ~50 km
- Duration: 3-4 days (depending on your physical abilities and time restrictions)
- Starting & Ending Points: Vaquería (3,700m) - Cashapampa (2,900m)
- Altitude: Up to 4,750m at Punta Unión Pass
- Direction: Can be hiked either way, but starting in Vaquería is easier (downhill last two days).
- Self-sufficient trek: No shops or accommodation, you must carry all food and gear.
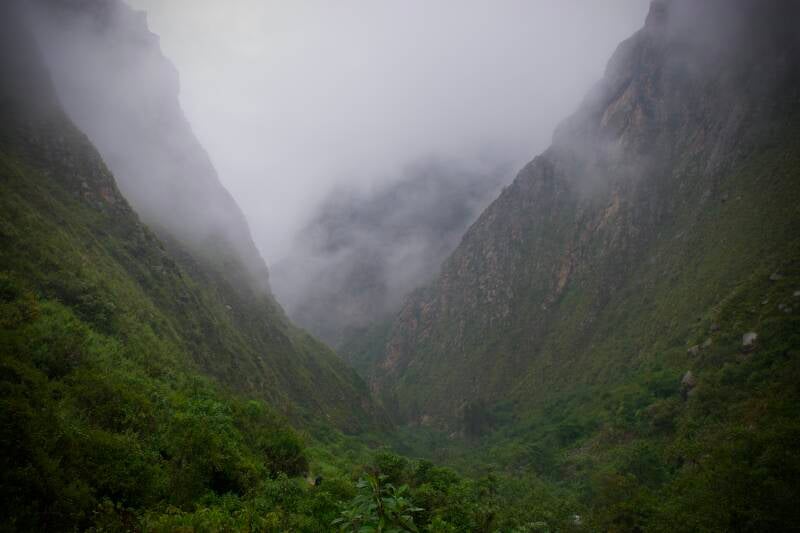
- Best time to go: April-November - dry season (we went in March and it was raining 80% of the time, which was absolutely miserable). We do not recommend going during the rain season as it's cold, wet, and the views will be completely obstructed by clouds (we don't think it's worth it outside the dry season).
This section details how we did the Santa Cruz Trek without a tour guide and what you need to know before attempting it.
Safety
Overall, we never felt unsafe during the Santa Cruz Trek, but there are a few things to keep in mind. Going with at least one other person is highly advisable for safety on some of the trickier sections of the trail.
- Steep, exposed sections: Some parts of the trail, particularly the final stretch near Cashapampa, have loose rocks, steep drops, and landslide-prone areas.
-
River crossings: While most crossings have bridges, some smaller streams can swell significantly after heavy rain. Be cautious, as the current can be strong, and rocks become incredibly slippery.
-
Altitude sickness: The trek reaches 4,750m at Punta Unión, and symptoms of altitude sickness can start as low as 2,500m. Proper acclimatisation in Huaraz (at least 2-3 days beforehand) is essential, and bringing altitude medication as a backup is a good idea.
-
Weather exposure: The weather can change rapidly, and hypothermia is a real risk if you’re caught unprepared in the rain, wind, or cold at higher altitudes. Pack proper layers, waterproof gear, and a high-quality tent and sleeping bag if trekking independently.
-
Navigation: It’s possible to lose the path in certain sections. Having an offline map (such as Maps.me or Gaia GPS) is highly recommended.
-
If you’re traveling alone, it’s highly recommended to go with a tour or hire a local guide.
Preparation
To avoid altitude sickness and improve endurance, spend a few days acclimatising in Huaraz before starting the trek.
- Acclimatisation hikes: We recommend doing Laguna Churup first (see our experience here) or Laguna 69 if you have more time.
- Many travellers arrive from Lima and start the trek the next day, this is NOT advisable!
- Altitude sickness can make the trek significantly harder and unsafe.
We chose to do the trek in 4 days (instead of 3) to allow for a more manageable pace.
Equipment Rental
Everything you need for the trek can be rented from outdoor stores and tour agencies in Huaraz.
We rented our gear from Huascarán Adventure Travel Agency and paid 395 soles for 4 days. You collect the equipment the day before and return it after completing the trek. We had to leave a deposit like a student card. Make sure you message them on WhatsApp in advance to make sure the gear is available. Their website:
https://www.huascaran-peru.com/
Our Rented Gear:
- 2-person tent (includes everything)
- 2 sleeping bags + liners (optional)
- 2 sleeping mats
- 2 large trekking backpacks
- Cooking gear (free): pot, pan, utensils, cup
- Sleeping bag liner (free)
- Stove + gas
Tip: You can also rent trekking poles and boots if needed. Many outdoor shops in Huaraz sell warm clothing, trekking gear, and camping essentials.
Packing List
This is a summary of what we packed for the trek:

Food & Meal Planning
We planned for ~2,200 calories/day per person (2,400+ for my partner). The total weight of the food was ~4-5 kg and we paid around 250 soles for everything.
Our meal plan per day:

Tips
- There are no shops along the route, so make sure to bring enough food for the entire trek.
- Bring water purification tablets or a water filter.
- Bring calorie dense food.
- Look around the Huaraz Central Market for cheese, nuts and dried fruit. It is often cheaper here than in the supermarkets.
- Bring breakfast and a good portion of lunch with you on the first day as you won't carry it during the hike (you arrive at the start of the trek around 11 AM).
-
Buy tickets in advance: Get the Huascarán National Park entry ticket at the national park office or during a day hike.
- Bring dry bags and a backpack cover! I cannot stress this enough. Especially during rain season, you will be miserable if your stuff gets wet.
- Trekking poles are optional, but I do advise on taking them. They saved us a couple of times from falling on our butts (there are many slippery and loose rocks), and it puts less strain on your legs, which you are going to need for the dreaded pass.
-
Keep your ticket! You’ll need to show it at both the beginning and end of the trek.
- Take a picture of you passport, you'll need to register it at the ranger office.
- The trail is often not well-marked, so download the GPX of the trek: https://nl.wikiloc.com/routes-wandelen/santa-cruz-trek-peru-7844764
Transportation
Getting to Vaquería (Starting Point)
To reach Vaqueria, you'll have to take 2 colectivos. The first one to Yungay, and the second one to Vaqueria (right where the trail starts).
The colectivo to Yungay left Huaraz at 5:20 AM. The van leaves at the Caraz and Prolongacion comercio intersection.
- Cost: 8-9 soles per person. Bags must be on your lap unless you pay extra for a seat.
- Duration: ~1h30
The bus to Vaquería leaves at the same place you are dropped off by the first colectivo.
- Cost: 30 soles per person
- Duration: ~3h
- Departure times: 7:00 AM and 7:30 AM. The next one is at 2:00 PM, so make sure you catch the first 2 buses in the morning (that's why you have to leave so early in Huaraz).
The drive was incredibly scenic, and it was one of our favourites. The drive takes you along Callejon de Huaylas Valley and then into the Huascaran National Park, past the turquoise Llanganuco Lakes and over Portachuelo de Llanganuco Pass. Unfortunately we weren't able to stop for pictures (with a tour you will).
Cashapampa to Huaraz
To return to Huaraz, you'll need to take 2 colectivos.
When reaching Cashapampa, there are colectivos going back to Caraz. From there you need to take another bus to Huaraz. Colectivos leave Cashapampa every hour.
We were lucky to end at the same time as a tour group and were able to catch a ride back to Caraz immediately.
- Cost colectivo Cashapampa to Caraz: 20 soles
- Duration: 1h
- Cost colectivo Caraz to Huaraz: 10 soles
- Duration: 2h
Budget Breakdown
Here’s a breakdown of our total expenses for the 4-day trek along with the average daily cost for food and gear. This is based on two people traveling together and sharing costs. Our total spending was 900 soles or 247 USD.
| Category | Price Total (for 2 people) | Price per person | Average daily spending per person |
|---|---|---|---|
| Gear (incl. tent, 2 sleeping bags, 2 sleeping mats, 2 liners, stove, gas, pots and pans, utensils, and 2 packpacks. | 395 soles (108 USD) | 197.5 soles (54 USD) | 49 soles (13.5) |
| Food | 250 soles (69 USD) | 125 soles (62.5 USD) | 31 soles (15.6 USD) |
| Transportation | 135 soles (37 USD) | 67 soles (34 USD) | |
| Entrance Tickets | 120 soles (33 USD) | 60 soles (16.5 USD) | |
| Total | 900 soles (247 USD) | 450 soles (123.5 USD) | 112.5 soles (30.9 USD) |
Our Experience: Day-by-Day
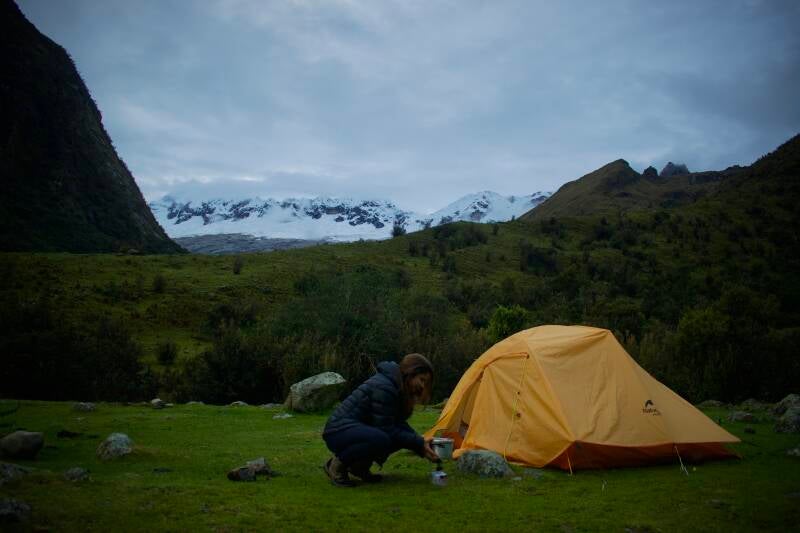
Day 1: Vaquería to Campsite Paria
- Length: ~11km
- Paria campsite: 3870m altitude
- Duration: 5h
- Make sure you have a GPS here as the trail is not well-defined.
We started our hike at 10:30 AM, leaving Vaquería and making our way through small villages and farmland. The trail was relatively flat at first, taking us across grassy meadows, though with the heavy rain and fog, we barely saw anything.
After a couple of hours, we entered Paria Valley, where the path turned muddier. The rain did not stop, and we were completely soaked by the time we reached Paria around 3:30 PM. This was easily our least favorite day, not because it was physically hard, but because the weather made everything miserable. We had no views, and the mud slowed us down a lot. Luckily when we started setting up our tent, it stopped raining for a little while.
Day 2: Paria to Campsite Taullipampa
- Length: ~12km
- Taulipampa campsite: 4250m altitude
- Duration: 6:30h (without the rain breaks)
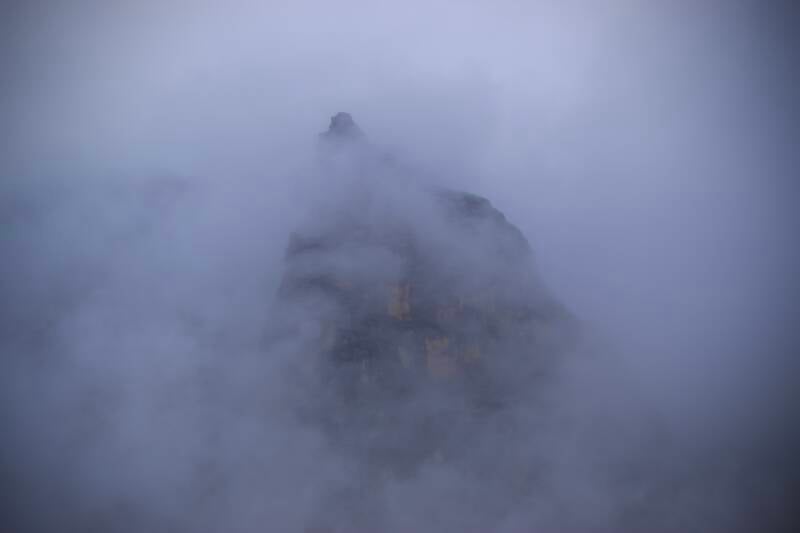
We knew this was going to be the hardest day, and the weather made sure we didn’t forget it. We left at 8:00 AM, hiking through the Huaripampa Valley, which was supposed to be beautiful, but again, rain and fog obscured most of it. The trail climbed steadily at first, but as we got closer to Punta Unión, it became steeper, rockier, and more exhausting.
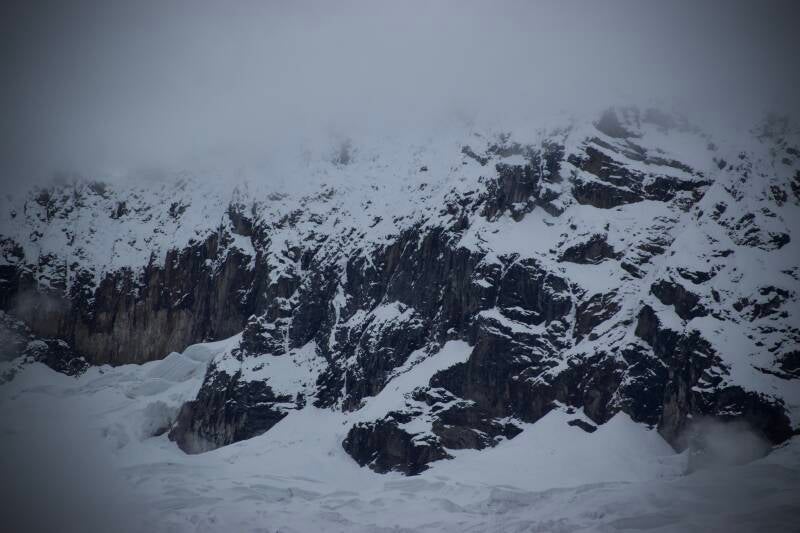
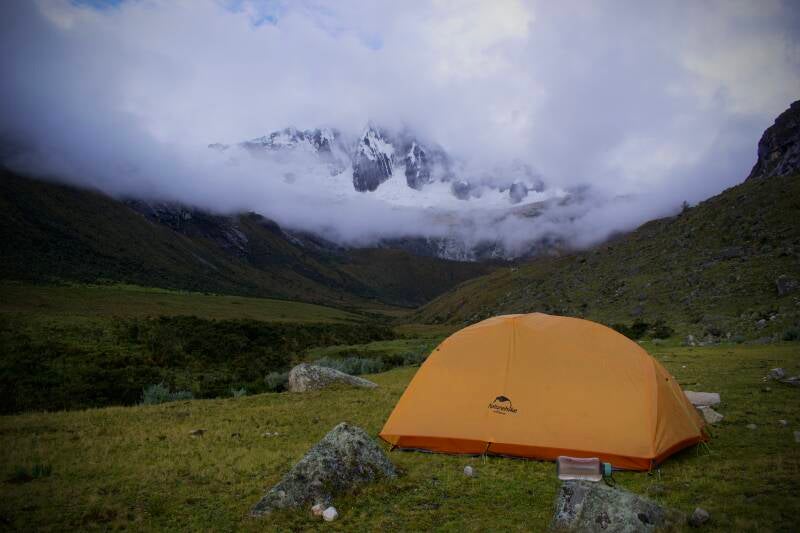
By midday, the rain got worse, and we had to stop frequently to take shelter. It was extremely in the cold and wet conditions, and reaching the pass at 1:00 PM was more of a relief than a victory. However, in a rare stroke of luck, we got 30 minutes of sunshine, enough time to finally see the peaks and glaciers. The descent was steep and rough. We finally reached Taullipampa at 4:30 PM, cold and wet. This was the coldest campsite so far due to the altitude.


Day 3: Taullipampa to Campsite Llamacorral
- Length: ~22km (depending on whether you visit the lake)
- Llamacoral campsite: 3760m altitude
- Duration: 5h (without rain breaks)
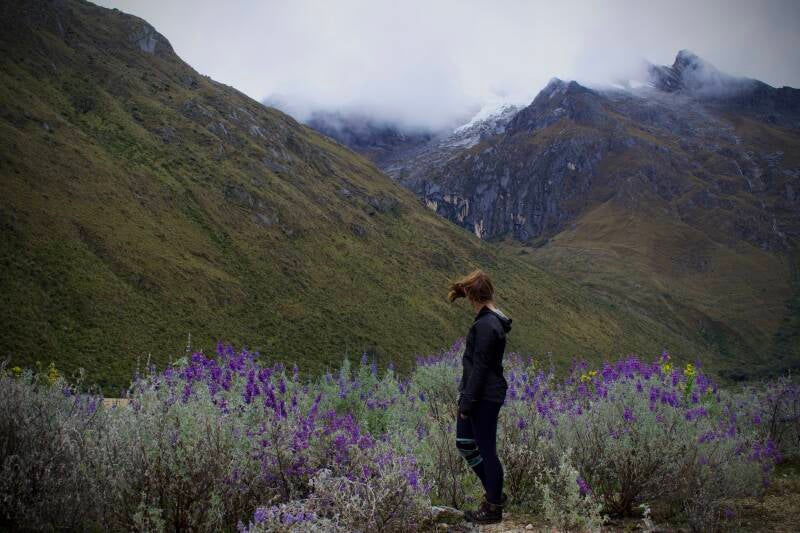
It rained all night, and in the morning, we had to wait two hours before even packing up. By 8:00 AM, things had calmed down, and we finally set off. We skipped the detour to Lake Arhuaycocha, normally a must-see, but with the extra 7 km and 300m elevation in the rain, we didn’t think it was worth it. Instead, we followed an alternative route through a valley covered in purple wildflowers. The sandy valley section was the easiest terrain we’d had so far. We reached Llamacorral at 3:00 PM, but since we were feeling ok enough, we decided to keep going and wild camp further down the trail to shorten the final day.
Day 4: Llamacorral to Cashapampa
- Length: ~9
- Duration: 4h
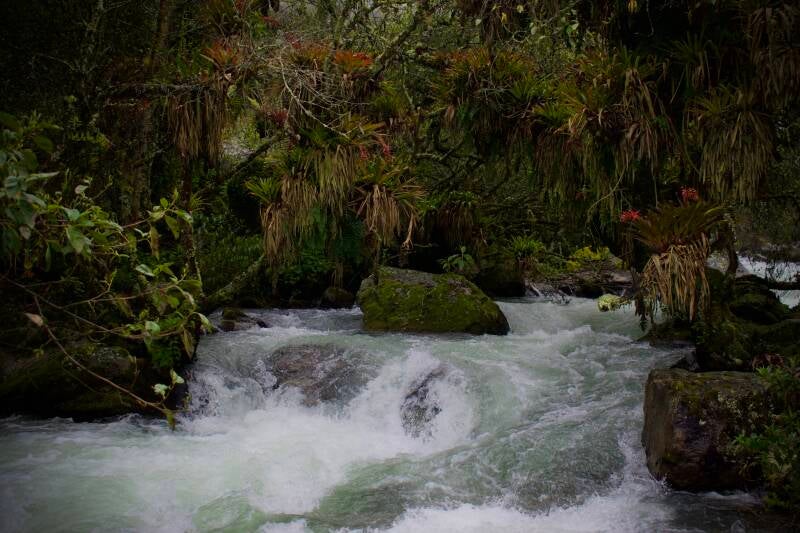
We departed at 7:00 AM, following the river downhill. For the first 1.5 hours, it was dry. The valley was beautiful, with trees covered in bromeliads and many waterfalls. However, things got sketchy as we got closer to Cashapampa. The trail had suffered from landslides, making it dangerously narrow and unstable in places. There were steep drop-offs at around the 2.5 km mark, and with the loose rocks and slippery mud, we were extremely grateful for our trekking poles. Of course, the rain returned before we could finish, coming down nonstop for the last stretch. We reached Cashapampa at 11:00 AM, absolutely drenched and relieved to have finished the trek.

Final Thoughts
Would we recommend hiking in March? No. Rain made the trek miserable most of the time.
- Would we do it again? Yes, but in a drier season.
- Best moments: Punta Unión (when sunny), the wildflowers, and the insane bus ride.
- Most difficult part: The mental battle against the rain and cold.
Create Your Own Website With JouwWeb